Blog

  • Peppermint Care 101: The Easiest Healing Herb to Grow

    Peppermint Care 101: The Easiest Healing Herb to Grow

    Disclosure: This post contains affiliate links; Planty Shanty may earn a small commission at no extra cost to you. As an Amazon Associate, I earn from qualifying purchases. For general education only, not medical advice — check with a healthcare provider before using herbs medicinally, especially if pregnant or nursing.

    If you want a healing herb that’s nearly impossible to kill and useful within weeks, grow peppermint. It’s vigorous, aromatic, and traditionally reached for to settle the stomach and freshen breath. The only rule? Keep it in its own pot — in open ground it will happily take over your whole garden.

    Meet the plant

    True peppermint (Mentha × piperita) is a fast-spreading perennial. Easiest to start from a peppermint plant or cutting — it roots almost instantly in water.

    Light

    Happy in part sun to full sun. Bright indirect light indoors works too; a few hours of direct sun keeps it bushy.

    Water

    Unlike most herbs, mint likes consistently moist soil — don’t let it dry out fully or the leaves droop and crisp. Water when the top half-inch feels dry.

    Soil

    Rich, moisture-retentive potting mix in a pot with drainage. Because it spreads aggressively by runners, always contain it in a pot — never plant it loose in a bed with other herbs.

    Harvesting

    Pinch or snip sprigs often with clean herb snips — regular harvesting makes it fuller. Take from the top to encourage branching.

    In the cabinet

    Peppermint is traditionally used for digestion and a refreshing tea, fresh or dried. Steep a few leaves with a tea infuser, or dry sprigs on a drying rack for later.

    FAQ

    Why keep mint in a pot? Its underground runners spread fast and will overwhelm neighboring plants.
    Can I grow it from a grocery-store sprig? Yes — put a cutting in water and it roots in about a week.
    Indoor-friendly? Very — one of the best herbs for a kitchen windowsill.

    Quick gear

    Part of the Healing Herb Cabinet. 🌿

  • Lavender Care 101: Grow Fragrant, Calming Blooms at Home

    Lavender Care 101: Grow Fragrant, Calming Blooms at Home

    Disclosure: This post contains affiliate links; Planty Shanty may earn a small commission at no extra cost to you. As an Amazon Associate, I earn from qualifying purchases. For general education only, not medical advice — talk to a healthcare provider before using herbs medicinally, especially if pregnant or nursing.

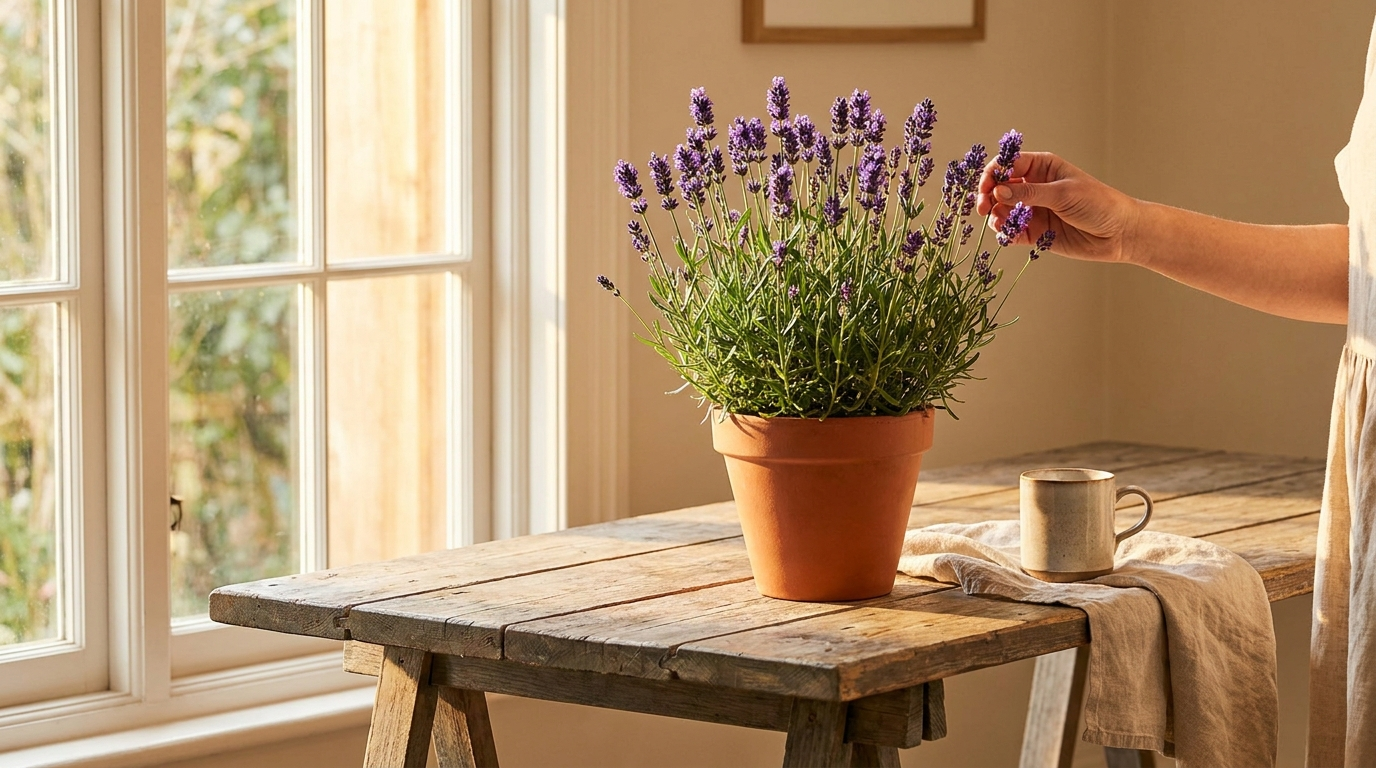
    Lavender is the crown jewel of a healing herb cabinet: beautiful, wildly fragrant, and traditionally used to calm nerves and ease sleep. It has exactly one non-negotiable demand — sun and sharp drainage — and once you nail that, it’s tough as nails.

    Meet the plant

    For containers and cooler climates, English lavender (Lavandula angustifolia) is the most reliable and cold-hardy. Start with a healthy lavender plant rather than seed — it’s much faster.

    Light

    Full sun, all day. Lavender is a Mediterranean plant and sulks in shade. Indoors it needs your brightest south window or a grow light.

    Water

    Here’s where people go wrong: lavender hates wet feet. Water deeply, then let the soil dry out completely before watering again. Overwatering is the #1 killer.

    Soil

    Give it gritty, fast-draining, slightly alkaline soil. Mix regular potting mix with coarse sand or perlite, and always use a pot with drainage (terracotta is ideal — it wicks away moisture).

    Harvesting & drying

    Cut the flower stalks just as the buds show color but before they fully open — that’s when fragrance peaks. Bundle stems and hang upside down in a dry, airy spot, or use a drying rack. Prune lightly after flowering with clean pruning shears to keep it compact.

    In the cabinet

    Dried lavender is traditionally used for calming tea, sleep sachets, and relaxing baths. Tuck buds into sachet bags for drawers and pillows.

    FAQ

    Why is my lavender dying? Almost always overwatering or poor drainage. Let it dry out and add grit.
    Does it come back every year? English lavender is a hardy perennial in most zones.
    Can it live indoors? Yes, if it gets intense light and you let it dry between waterings.

    Quick gear

    Part of the Healing Herb Cabinet. 🌿

  • Chamomile Care 101: Grow the Ultimate Calming Tea Herb

    Chamomile Care 101: Grow the Ultimate Calming Tea Herb

    Disclosure: This post contains affiliate links; Planty Shanty may earn a small commission at no extra cost to you. As an Amazon Associate, I earn from qualifying purchases. This article is for general educational purposes and is not medical advice — check with a healthcare provider before using herbs medicinally, especially if pregnant, nursing, or allergic to ragweed/daisies.

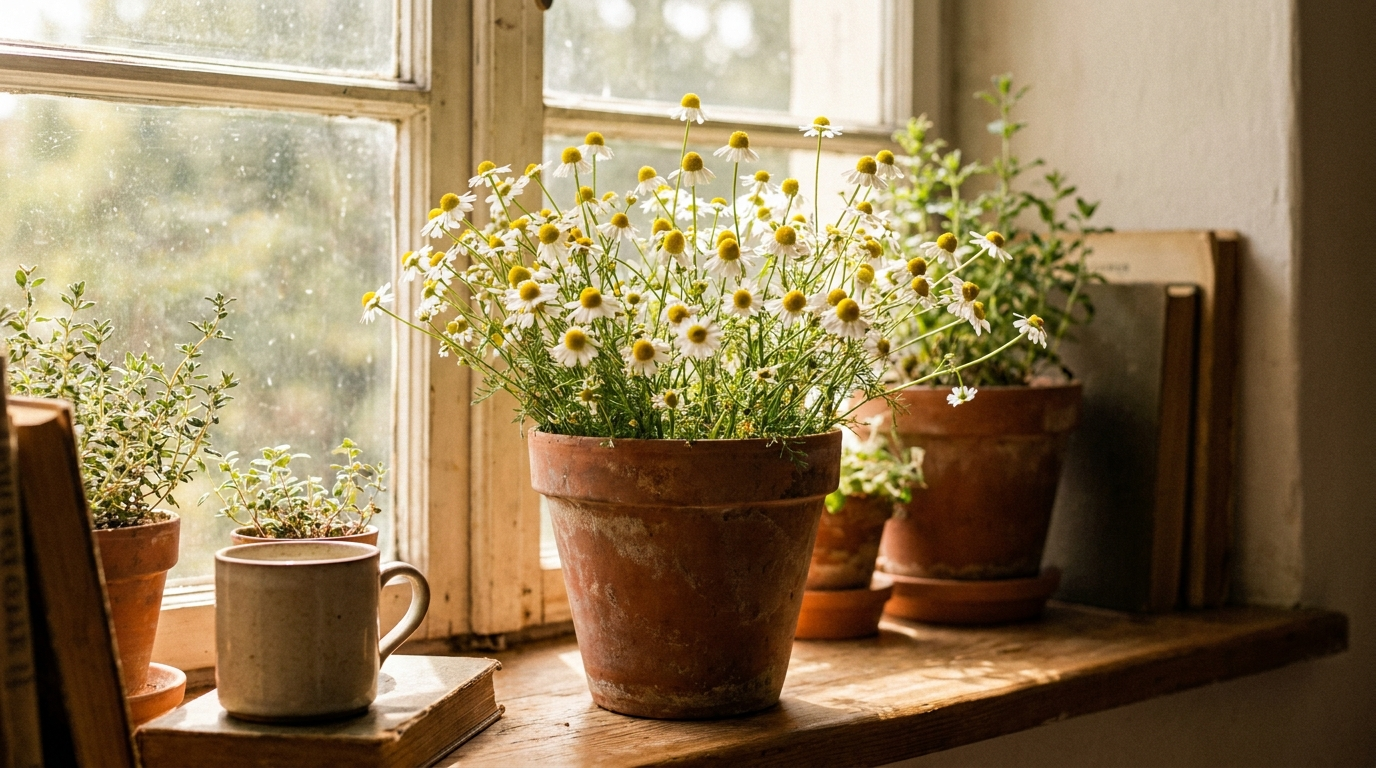
    If there’s one herb that earns its spot in a healing cabinet, it’s chamomile. Those cheerful little apple-scented daisies dry into the most soothing bedtime tea, and the plant is genuinely easy to grow on a sunny sill or balcony. Here’s how.

    Meet the plant

    Two types are common: German chamomile (an annual that grows tall and bushy, best for lots of flowers) and Roman chamomile (a low perennial groundcover). For tea, most people grow German chamomile from chamomile seeds.

    Light

    Chamomile wants full sun — 6+ hours a day. On a dim windowsill it gets leggy and flowers poorly; a grow light fixes that.

    Water

    Let the top inch of soil dry between waterings. Chamomile is fairly drought-tolerant and dislikes soggy roots, so always use a pot with drainage.

    Soil

    Keep it simple — a light, well-draining potting mix. Chamomile actually flowers better in lean soil, so skip heavy fertilizing.

    Harvesting & drying

    Pick the flower heads when the white petals are fully open and flat (or just starting to curl back). Harvest in the morning after the dew dries. Spread them on a drying rack for 1–2 weeks, then store in amber jars. Frequent picking = more flowers.

    In the cabinet

    Chamomile is traditionally brewed as a calming, sleep-friendly tea. Steep a spoonful of dried flowers in hot water with a tea infuser for 5 minutes.

    FAQ

    How long from seed to flower? About 6–10 weeks for German chamomile.
    Does it come back? German chamomile is annual but self-seeds readily; Roman chamomile is perennial.
    Can I grow it indoors? Yes, with a bright south window or a grow light.

    Quick gear

    Part of the Healing Herb Cabinet. 🌿

  • Pothos Care 101: The Easiest Houseplant You’ll Ever Grow

    Pothos Care 101: The Easiest Houseplant You’ll Ever Grow

    Disclosure: This post contains affiliate links. If you buy through them, Planty Shanty may earn a small commission at no extra cost to you — it’s what keeps our care guides free. As an Amazon Associate, I earn from qualifying purchases. We only recommend gear we’d put next to our own plants.

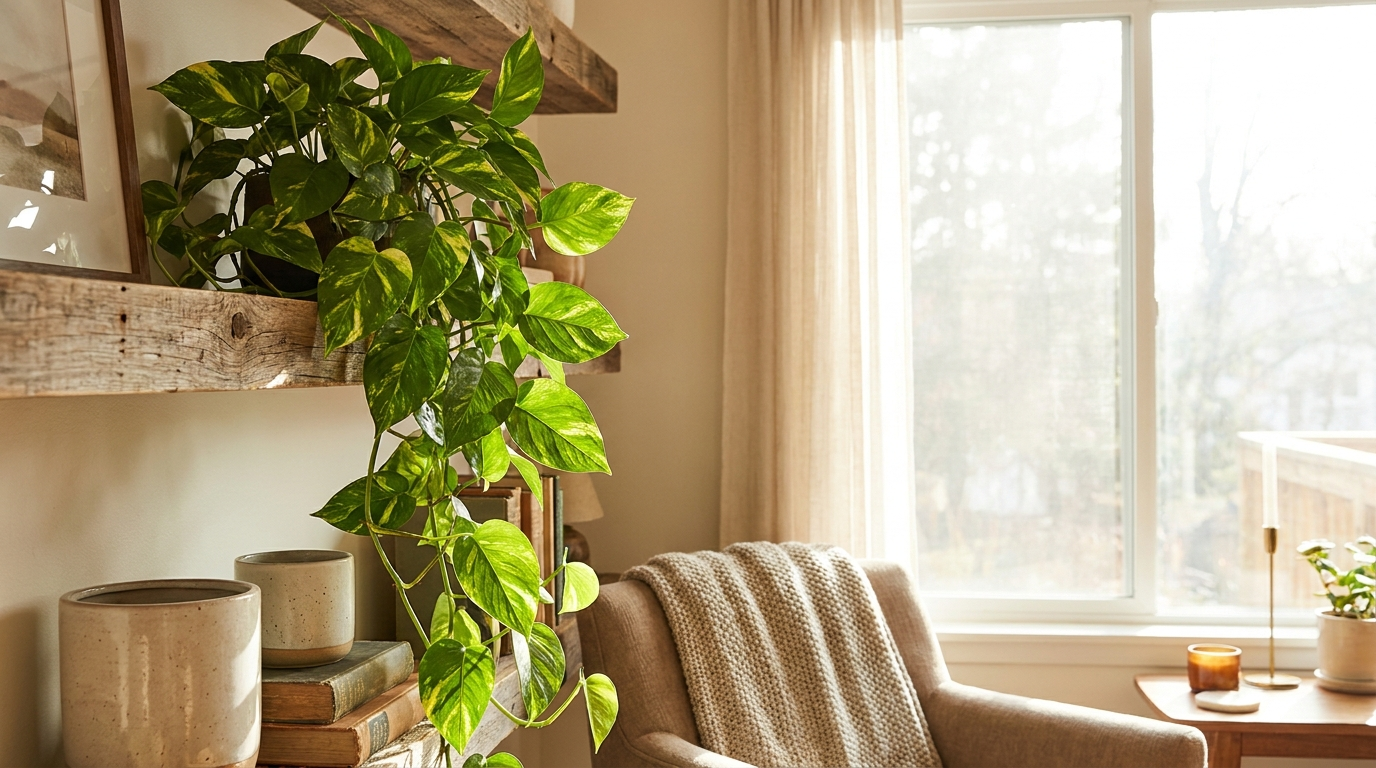
    If you’ve ever killed a houseplant and sworn off the hobby, start again with a Pothos. It’s the plant that convinces people they do have a green thumb — near-indestructible, fast-growing, and happy to trail down a shelf or climb a pole. Here’s everything you need to grow a lush one.

    1. Meet the Pothos

    Pothos (Epipremnum aureum), also called Devil’s Ivy, comes in gorgeous varieties that all share the same easy care:

    • Golden Pothos — the classic, marbled green and gold.
    • Marble Queen — heavily variegated, creamy white and green.
    • Neon Pothos — electric chartreuse; brightens a dim corner.
    • Jade Pothos — solid deep green, the most low-light tolerant.

    They look delicate but are famously tough — perfect for beginners, offices, and forgetful waterers.

    2. Light Requirements

    Pothos thrive in bright, indirect light but tolerate low light better than almost any plant.

    • Best growth & variegation: bright, indirect light.
    • Tolerates: medium and low light (variegated types may fade toward green).
    • Avoid: harsh direct sun, which scorches the leaves.

    In a dark room, a small LED grow light keeps the variegation crisp.

    3. Watering Routine

    Pothos would rather be too dry than too wet. Let the top 1–2 inches of soil dry out between waterings.

    • Droopy, limp leaves usually mean thirsty — they perk back up within hours of a drink.
    • Yellow leaves usually mean overwatered — ease off.
    • Unsure? A cheap soil moisture meter removes all doubt.

    Always use a pot with drainage and empty the saucer — no soggy roots.

    4. Ideal Soil Mix

    A standard, well-draining indoor potting mix works great. For extra insurance against rot, stir in a handful of perlite for aeration.

    5. Fertilizing

    Feed lightly with a balanced houseplant fertilizer every 4–6 weeks in spring and summer. Skip feeding in winter when growth slows.

    6. Temperature & Humidity

    Pothos are relaxed about both: 65–85°F and normal household humidity are fine. They appreciate extra humidity (bigger leaves), so a small humidifier is a nice bonus but never required. Keep them above 55°F and away from cold drafts.

    7. Training: Trail or Climb

    • Trailing: let the vines spill from a shelf or hanging planter for that jungle look.
    • Climbing: give it a moss pole and the leaves grow noticeably larger.

    Pinch or prune leggy vines to keep it full and bushy.

    8. Propagation (It’s Almost Too Easy)

    Pothos roots in water like a champ:

    1. Snip a cutting just below a node (the little brown nub on the stem).
    2. Pop it in a glass of water; change weekly.
    3. Roots appear in 1–2 weeks — plant it back into the same pot to make it fuller, or start a new one.

    A dab of rooting hormone speeds it up but isn’t necessary.

    9. Common Problems

    • Yellow leaves: usually overwatering — let it dry out more.
    • Brown, crispy tips: low humidity or inconsistent watering.
    • Leggy, sparse vines: more light + prune to encourage branching.
    • Pests: wipe leaves and treat any mealybugs or spider mites with neem oil.

    Frequently Asked Questions

    Is Pothos toxic to pets? Yes — it contains calcium oxalate crystals and is toxic to cats and dogs if chewed. Keep it out of reach or up high.

    How fast does Pothos grow? Very — 12+ inches of vine a month in good light during the growing season.

    Can Pothos live in just water? It can survive long-term in water; just add a few drops of hydroponic nutrients monthly.

    Quick-Start Gear Checklist

    Give a Pothos decent light and the occasional drink, and it will forgive almost anything. It’s the perfect first plant — and honestly, still a favorite once you have fifty. Happy growing, from all of us at Planty Shanty. 🌿

  • The Healing Herb Cabinet: 12 Medicinal Herbs to Grow at Home

    The Healing Herb Cabinet: 12 Medicinal Herbs to Grow at Home

    Disclosure: This post contains affiliate links. If you buy through them, Planty Shanty may earn a small commission at no extra cost to you. As an Amazon Associate, I earn from qualifying purchases.

    This article is for general educational purposes and is not medical advice. Herbs can interact with medications and conditions — talk to a qualified healthcare provider before using them, especially if pregnant, nursing, or treating a health issue.

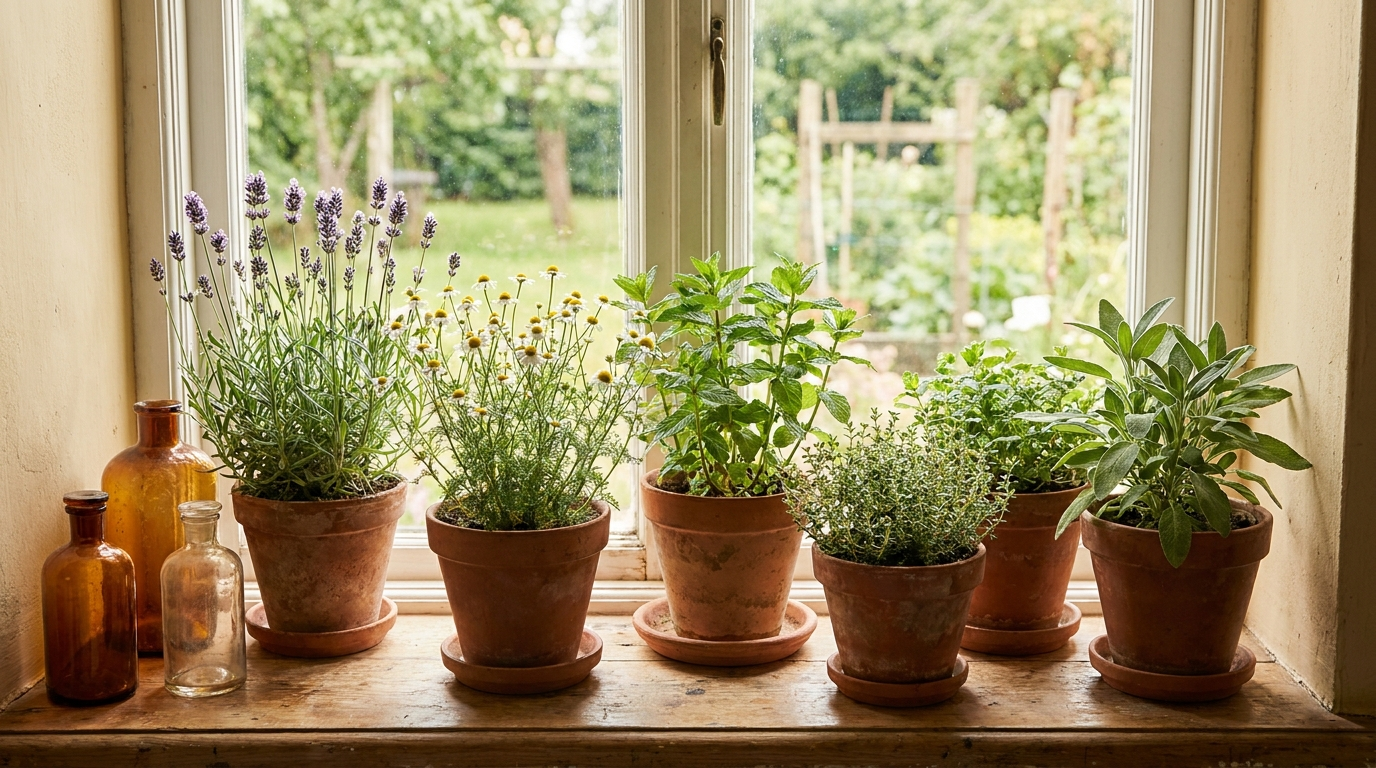
    There’s something deeply satisfying about walking to a sunny windowsill, snipping a few leaves, and steeping a cup of tea you grew. A healing herb cabinet — a small collection of medicinal and culinary herbs — is the most useful, beginner-friendly garden you can start. Most of these thrive in a pot on a bright sill, and each has a long history of traditional use.

    Here are twelve to build your cabinet around, how to grow them, and the simple gear that makes harvesting and storing them easy.

    Grow these first (easiest + most useful)

    1. Chamomile

    Gentle, apple-scented flowers traditionally brewed as a calming bedtime tea. Loves full sun and well-drained soil; let it dry slightly between waterings. Start from chamomile seeds.

    2. Peppermint

    Vigorous and nearly unkillable — grow it in its own pot (it takes over gardens). Traditionally used for digestion. Prefers moist soil and part sun. Grab a peppermint plant or seeds.

    3. Lemon Balm

    A lemony member of the mint family, long used to ease stress and lift mood. Tough, fast, and happy in a pot. Try lemon balm seeds.

    4. Lavender

    Beautiful, fragrant, and calming — great for tea, sachets, and sleep. Needs the sunniest spot and gritty, fast-draining soil (it hates wet feet). Start with a lavender plant.

    5. Holy Basil (Tulsi)

    Revered in Ayurveda as an adaptogen for stress. Warm, clove-like, and easy from tulsi seeds in a bright, warm spot.

    6. Calendula

    Cheerful orange flowers traditionally infused into skin-soothing salves. Blooms fast from calendula seeds and loves full sun.

    The kitchen-and-medicine-cabinet crossovers

    7. Rosemary

    Piney and antioxidant-rich; great for cooking and memory-boosting folklore. Wants sun and sharp drainage. A rosemary plant is the easy start.

    8. Thyme

    Tiny leaves with big antimicrobial tradition (think old-fashioned cough syrups). Drought-tolerant and perfect for pots. Sow thyme seeds.

    9. Sage

    Earthy and traditionally used as a sore-throat gargle. Loves sun and dry-ish soil. Begin with a sage plant.

    10. Ginger

    Grow it from a plump grocery-store rhizome in a wide, shallow pot of rich soil, kept warm and moist. Classic for nausea and digestion. Or start with a ginger root growing kit.

    11. Echinacea (Coneflower)

    A hardy perennial traditionally used to support immunity. Gorgeous purple blooms from echinacea seeds; full sun.

    12. Aloe Vera

    The ultimate low-effort healer — snap a leaf for its cooling gel on minor burns. Treat it like a succulent: bright light, water only when bone-dry. Pick up an aloe vera plant.

    Setting up your herb cabinet

    You don’t need much — just light, the right pots, and a way to harvest and store:

    Frequently Asked Questions

    Which healing herb should a total beginner start with? Peppermint, lemon balm, or aloe — all three are forgiving and useful within weeks.

    Can I grow these indoors year-round? Yes, with enough light. A south-facing window or a grow light keeps most of them productive through winter.

    How do I dry herbs? Snip in the morning, bundle stems with twine, and hang in a dry, airy spot out of direct sun for 1–2 weeks — or use a drying rack. Store in airtight amber jars away from light.

    Start with three or four, get a feel for them, and let your cabinet grow. There’s real magic in healing yourself with something you raised from seed. 🌿 — Planty Shanty

  • Monstera Care 101: The Complete Guide to a Thriving Swiss Cheese Plant

    Monstera Care 101: The Complete Guide to a Thriving Swiss Cheese Plant

    Disclosure: This post contains affiliate links. If you buy through them, Planty Shanty may earn a small commission at no extra cost to you — it’s what keeps our care guides free. As an Amazon Associate, I earn from qualifying purchases. We only recommend gear we’d put next to our own plants.

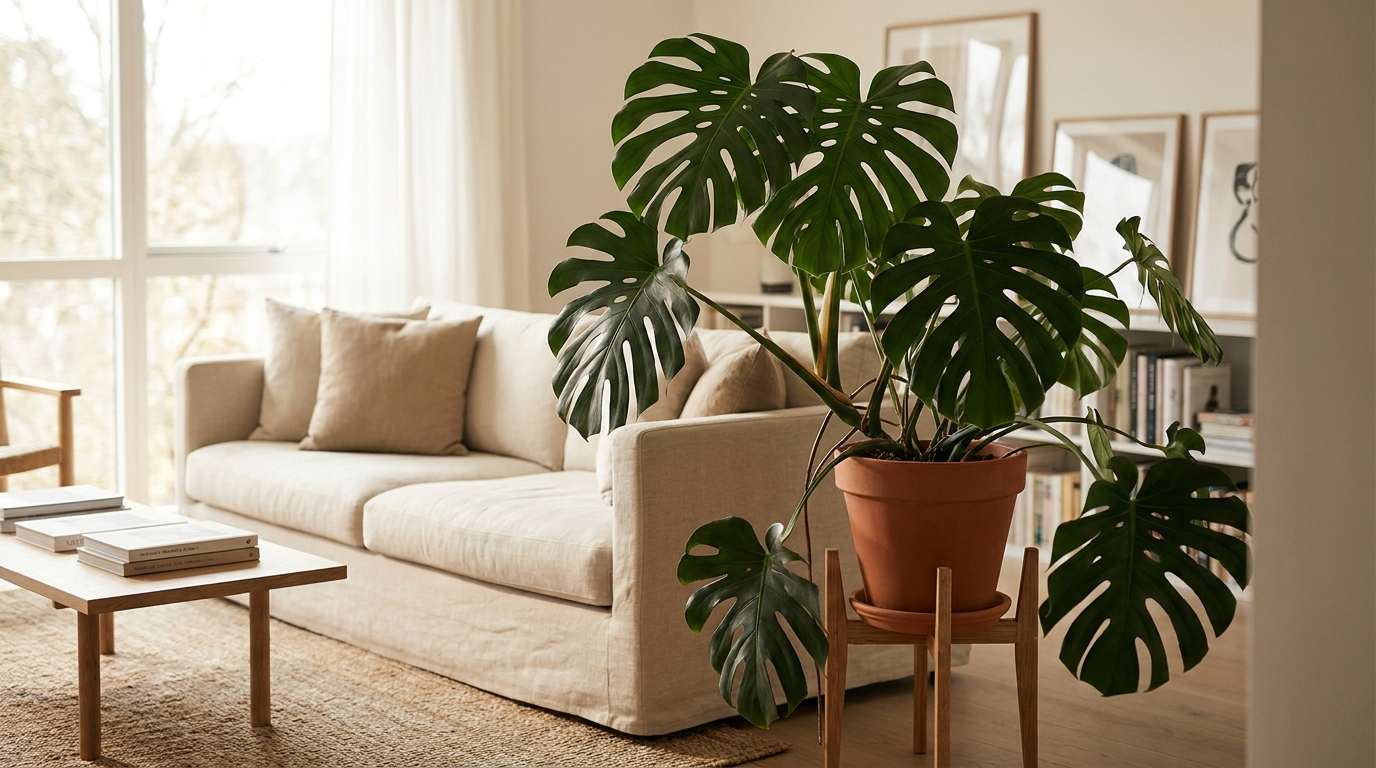
    The Monstera — affectionately called the Swiss Cheese Plant for its holey, split leaves — is one of the most rewarding houseplants you can own. It’s bold, tropical, forgiving of beginner mistakes, and grows fast enough to feel genuinely alive in your space. This guide walks you through everything: the different types, exactly how much light and water they want, the right soil, and how to train those iconic fenestrated leaves to get bigger every season.


    1. Meet the Monstera

    Not every Monstera is the same plant. The most common ones you’ll find:

    • Monstera deliciosa — the classic. Large, dramatic leaves with deep splits and holes as it matures. The one most people picture.
    • Monstera adansonii — the “Swiss Cheese Vine.” Smaller, thinner leaves covered in oval holes. Vines beautifully in a hanging pot or up a pole.
    • Monstera dubia — a shingling variety whose small heart-shaped leaves press flat against a surface as it climbs.
    • Monstera ‘Peru’ (Monstera karstenianum) — thick, deeply textured leaves with no holes, but a stunning puckered surface.

    Good news for beginners: care is nearly identical across all of them. Master deliciosa and you can grow any of them.


    2. Light Requirements

    Monsteras evolved on the floor and lower trunks of tropical rainforests, dappled by light filtering through the canopy. Recreate that and they thrive.

    • Ideal: bright, indirect light — near an east or north window, or a few feet back from a bright south/west window.
    • Tolerates: medium light, but expect slower growth and fewer (or no) fenestrations — the holes and splits are literally a sign your plant is getting enough light.
    • Avoid: harsh, direct midday sun on the leaves, which scorches them.

    If your space is dim — a common problem in winter or in north-facing rooms — a full-spectrum LED grow light makes an enormous difference and is the single best upgrade for stronger, holier leaves.


    3. Watering Routine

    Overwatering is the number one killer of Monsteras — far more than underwatering. The roots need oxygen, and sitting in soggy soil suffocates them and invites root rot.

    The rule: water thoroughly, then wait until the top 1–2 inches of soil are dry before watering again.

    • The finger test: push a finger two knuckles deep. Dry? Water. Still moist? Wait a few days.
    • Prefer certainty? A cheap soil moisture meter takes the guesswork out completely — great if you tend to overlove your plants.
    • When you water, do it thoroughly until it drains from the bottom, then empty the saucer. Never let the pot sit in standing water.

    Expect roughly once a week in summer and every 10–14 days in winter — but always check first; the plant, not the calendar, tells you when.


    4. Ideal Soil Mix

    Monsteras are aroids — they want a chunky, airy, fast-draining mix that mimics the forest floor, not dense bagged “potting soil” that stays wet.

    A great DIY aroid mix:

    • Base: peat moss or coco coir for moisture retention
    • Perlite for aeration and drainage
    • Orchid bark for chunk and root grip
    • A handful of compost or worm castings for nutrients

    Don’t want to mix your own? A ready-made Monstera / aroid potting mix works perfectly straight from the bag.


    5. Fertilizing

    Monsteras are moderate feeders. During the growing season (spring through early fall):


    6. Temperature & Humidity

    As tropical natives, Monsteras like it warm and a little humid:

    • Temperature: 65–85°F (18–29°C) is ideal. Avoid anything below 55°F and keep them away from cold drafts and heating/AC vents.
    • Humidity: they’ll survive average household humidity but thrive above 50–60%. Higher humidity means bigger leaves and better fenestration.

    To raise humidity, group plants together, set the pot on a pebble tray, or run a small humidifier nearby — the most reliable option, especially in dry winter air.


    7. Choosing the Right Pot

    Drainage is non-negotiable. Whatever pot you pick, it must have drainage holes.

    • Terracotta breathes and dries faster — forgiving if you tend to overwater.
    • Plastic or glazed ceramic holds moisture longer — better if you forget to water.
    • Size up only 1–2 inches in diameter at a time. Too large a pot holds excess wet soil around the roots and invites rot.

    A simple planter with drainage holes and a saucer is all you need.


    8. Repotting

    Repot every 1–2 years, or when you see roots creeping out the drainage holes or circling the surface.

    1. Water a day before to reduce transplant stress.
    2. Gently ease the plant out and loosen the root ball.
    3. Move it to a pot 1–2 inches larger with fresh aroid mix.
    4. Water in and keep it out of direct sun for a week while it settles.

    Best time: spring or early summer, at the start of the growing season.


    9. Moss Pole Training (for Bigger Leaves)

    In the wild, Monsteras climb — and climbing triggers them to produce larger, more fenestrated leaves. Give yours something to climb and it will reward you.

    • Insert a moss pole or coir pole into the pot at repotting time.
    • Loosely tie the main stem to the pole with soft plant ties or garden twine.
    • Keep the moss pole lightly misted — the aerial roots will grip it and the plant will start climbing on its own.

    This is the single biggest lever for turning a small Monstera into a jaw-dropping one.


    10. Pruning & Propagation

    Pruning keeps your plant bushy and healthy. Use clean, sharp pruning shears to remove yellowing leaves or leggy growth, always cutting just above a node.

    Propagation is where Monsteras get addictive — and free:

    1. Find a node (the bump where a leaf and aerial root meet). This is essential — a cutting without a node won’t root.
    2. Cut just below the node with sterile shears.
    3. Root it in water (change weekly) or straight into moist sphagnum moss.
    4. Once roots reach 2–3 inches, pot it up in aroid mix.

    A little rooting hormone speeds things along but isn’t required.


    11. Common Pests & Problems

    Watch for spider mites, mealybugs, and thrips, especially in dry indoor air.

    • Wipe leaves regularly and inspect the undersides.
    • At the first sign of pests, treat with neem oil or an insecticidal soap, repeating weekly until they’re gone.
    • Isolate any affected plant from your others until it’s clear.

    Quick troubleshooting:

    Symptom Likely Cause Fix
    Yellow leaves Overwatering Let soil dry more between waterings; check drainage
    Brown, crispy edges Low humidity / underwatering Raise humidity; water more consistently
    No holes in leaves Not enough light / young plant More bright indirect light; add a grow light
    Drooping Thirsty or overwatered Check soil moisture before acting
    Brown spots on leaves Direct sun scorch Move out of direct rays

    Frequently Asked Questions

    Why doesn’t my Monstera have holes?
    Usually it’s young, or it needs more light. Fenestration develops with maturity and adequate bright, indirect light — a grow light and a moss pole both help.

    Is Monstera toxic to pets?
    Yes. Monsteras contain calcium oxalate crystals and are toxic to cats and dogs if chewed. Keep them out of reach.

    How fast do Monsteras grow?
    In good conditions, expect a new leaf every 4–6 weeks in the growing season — faster with a moss pole and strong light.

    Can I grow a Monstera in low light?
    It’ll survive, but grow slowly with small, hole-less leaves. If your space is dim, a grow light is the fix.


    Quick-Start Gear Checklist

    Everything mentioned above, in one place:


    Grow one Monstera well and you’ll be hooked. Give it bright indirect light, water only when the top inch or two is dry, and hand it a moss pole to climb — do those three things and the rest is easy. Happy growing, from all of us at Planty Shanty. 🌿

  • Hello world!

    Welcome to WordPress. This is your first post. Edit or delete it, then start writing!